The Four Classic Lighting Patterns: Butterfly, Loop, Rembrandt, Split
There are four basic or classic lighting set-ups. The terms refer to the shadow created by the
main or “key” light. In order to reduce
the severity of shadows, there is often a fill light for the shadows, and a rim
or hair light to help separate the model from the background. I’ve ordered the light patterns here:
Butterfly: the light
is “on axis” with the camera, typically slightly above the camera at a 15 to 30
degree angle, but also right around the lens as circle light.


 Here is an example of a fairly subtle loop lighting. The shadow barely moves camera right; the flash is probably 15 degrees off axis.
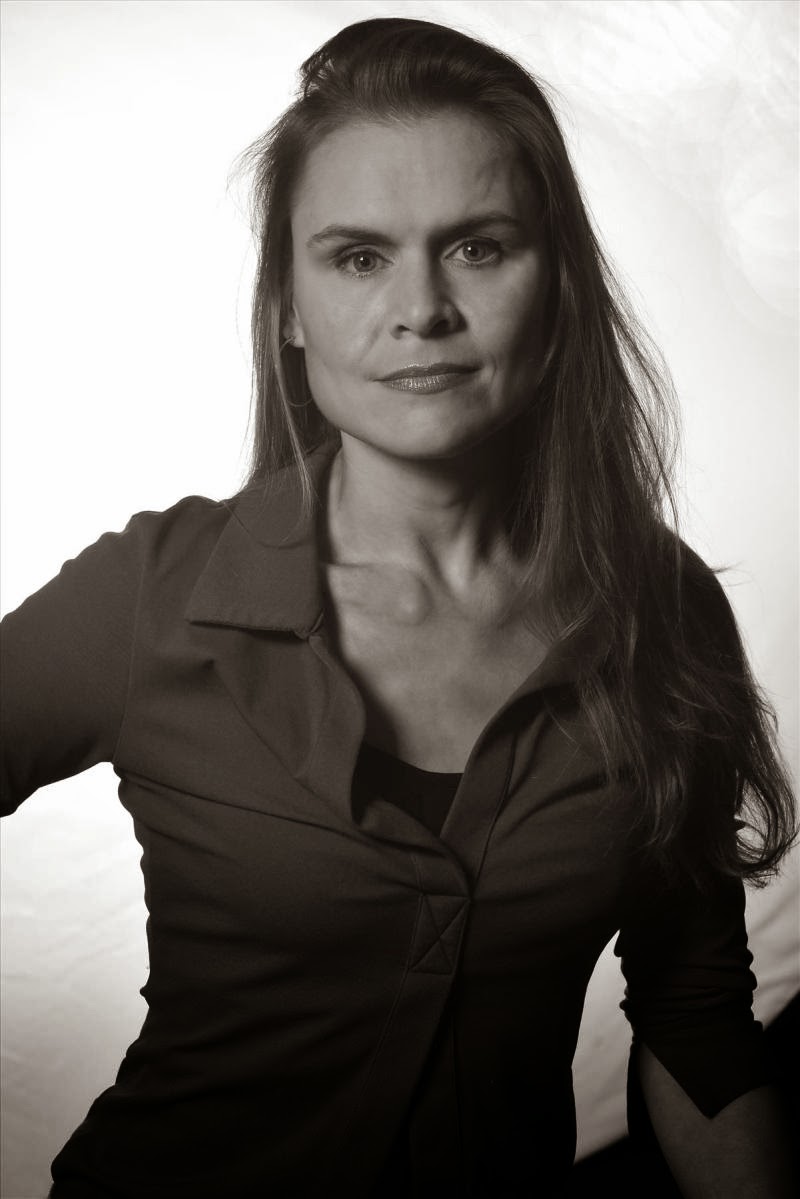
Rembrandt: now the light is 45-75 degrees to the side. The shadow of the nose merges with the shadow of the cheek, creating a small triangle on the cheekbone. Often the far side eye is in darkness.

A little deeper into the classic light patterns: Usually, the fill light is on axis for loop
and Rembrandt lighting. This allows for
the most natural look. Move the fill
light to the side and it becomes more dramatic.


This image is from a runway event using natural light. She has a bank of windows camera right acting as the key light, and there's another set of windows behind me creating gradual shading on the left side of her face.
If this is new to you, set up your lights and practice. See where the shadow falls. Each face is different-- the height of the
cheekbones and the depth of the eye sockets are huge factors in where, exactly, you can position the light. Remember, you want to see
a catch light in the eyes (preferably both eyes).
No comments:
Post a Comment